A long time ago (December 17, 2011 to be exact), I backed a Printrbot LC on Kickstarter. After months of waiting, I finally received my 3D printer yesterday and quickly started assembling it. I followed Brook's How-To Build videos on YouTube and got pretty far in a couple hours. I took (many, many) pictures along every step of the way so I thought I'd share them with you. Hopefully they can be beneficial to somebody, or at least help them decide if building a 3D printer is something they could do.
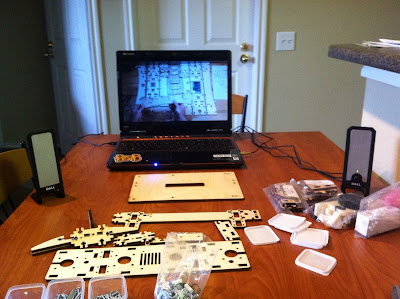 |
| My workspace |
 |
| Everything neatly packed in a box |
 |
| Add some organization to the big bag of parts |
 |
| Rods |
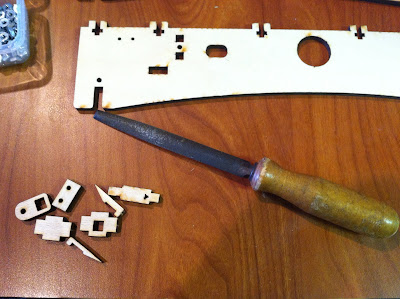 |
| Break off the small pieces and file them down |
 |
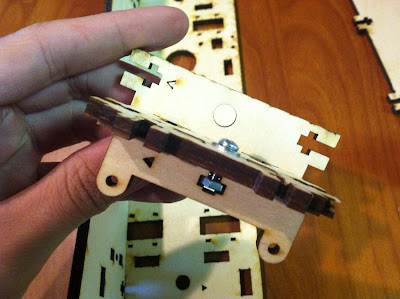
| First pieces together |
 |
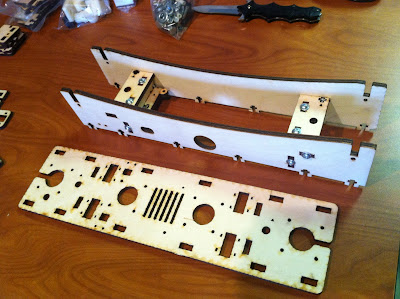
| Both supports in place |
 |
| First bolts in place |
 |
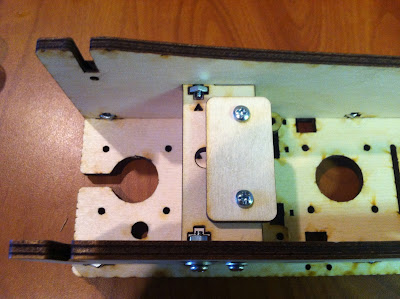
| It's coming together |
 |
| Brook's favorite piece to assemble |
 |
| Rod stoppers |
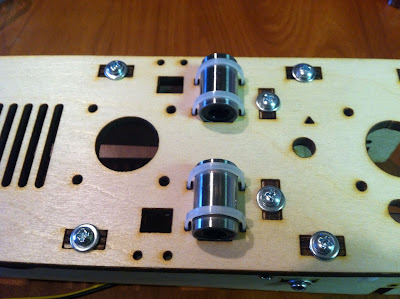 |
| Linear bearings |
That's all I have for today. Some of the 3D-printed parts on the extruder may have been warped because they were giving me a very difficult time while assembling it. I am still not happy on how it is put together, so I might have to mess around with it some more if it doesn't work right away. Fortunately, it was the only part that gave me any trouble. Building the other parts of the bot was a lot of fun.
Click here to go to Printrbot Build: Part 2


No comments:
Post a Comment